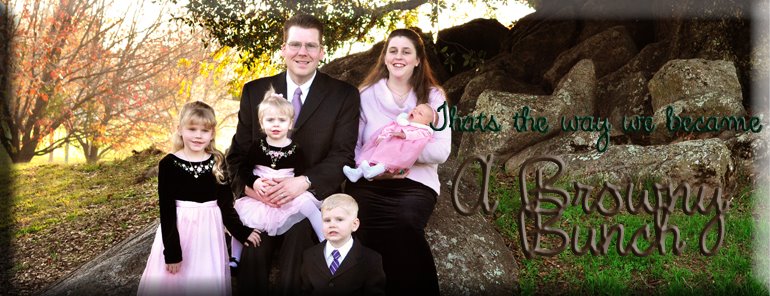
I continued playing with one of the pictures I had open after my last post here and added some words that night. I think that I am going to have to put this one up on the wall somewhere.
Lesson 5 with words added

I have been playing around with the fonts and so far this is the best one I have found but I still think I can do better before I get it printed. I will have to check out some more free fonts on the web.
As I went to the next lesson I had found out that I had already done it on the previous picture by adding a frame to it so I did another one too.
“Super Duper Bonus Challenge” (Project 3 Frame + Texture + Clipping Mask)
When adding the clipping mask to the picture it made the frame more like an added texture. It is the flowery/filigree-ish details on the top left and bottom right.
before

After

Day 6 TTV (Through The Viewfinder) and Mega Challenge
The TTV technique is making your picture look like it was taken through the view finder of an old camera. And for the challenge you were to add any of the previous lessons. I made it vintage-y with hand tinting to her cheeks and eyes.
Before

After

Day 7 was just a self check (in other words a quiz) on some of the techniques we have already learned
Day 8 Type
Well I had accidentally figured this one out on my own a few lessons ago, actually I figured it out when I was first creating the blog, as it is how I did our banner at the top. So of course I had to try something else, I figured out a way to de-saturate the photo and then bring the color back to just the flowers. (She also had us adding texture to the picture but I tried several of them and I like it much better with out so I removed the texture but I will have to try some of the cool textures on future pics.)
Before

After

Day 9 Edge Burn
This technique is supposed to draw the eye to the middle (or where ever your focal point is). This was great because you can help hide some of the background junk in the picture so that your eye isn't drawn to it.
Before
The difference is very subtle in the picture but it makes the kids pop a little bit.
Edge burning on this one really helped to hide the cluttered kitchen counters!
Before

After 
Well that was it for today. Tomorrow I will hopefully get to work on lesson 10 and I think that tomorrow is our last day with lesson 14!

It's all looking great! I love the picture of Natalie and Kaitlyn and the last one of Hannah and that monstrous rib! :P
ReplyDelete